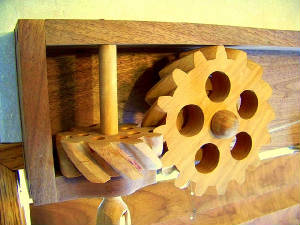
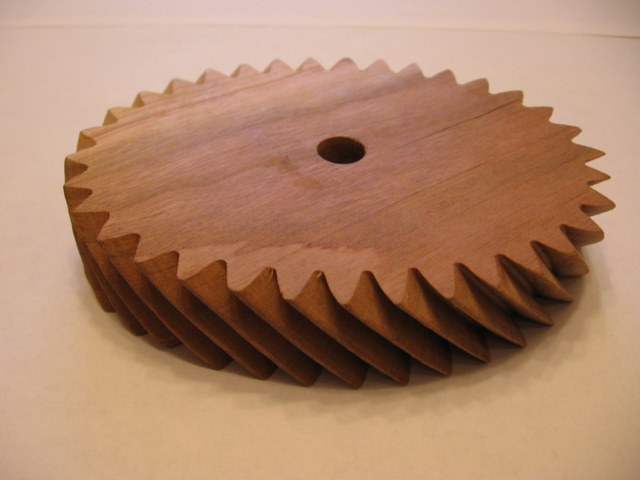
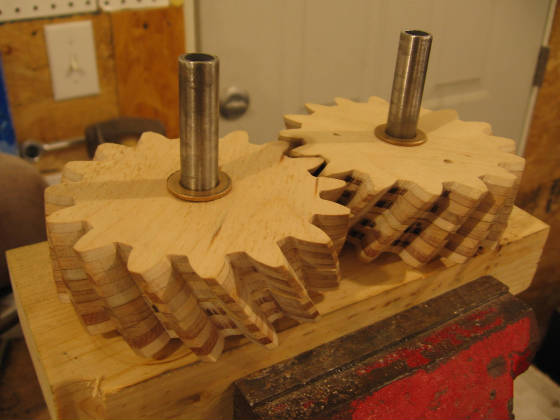
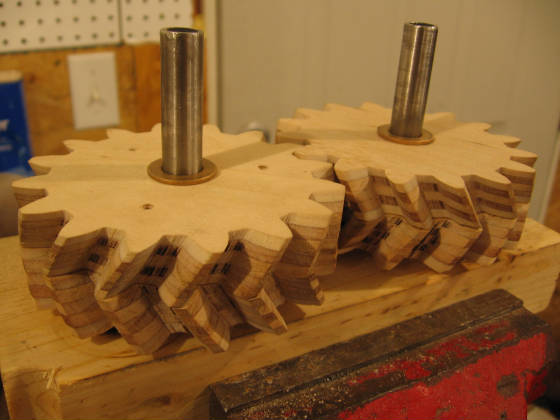
The gear-making E-book contains 52 pages, and lots of illustrations to cover the technique using table saw, scroll saw, and now the router. This PDF file will most definitely save you a lot of time and frustration over the other method of sawing and sanding around a drawn pattern. It describes how to make spur gears, herringbone gears, helical gears, and gear racks. It is easy to get good and consistent results. The download includes the eBook in pdf format, and login information to a page containing demonstration videos, and a downloadable dimension calculator spreadsheet. If you have specific questions about it, then send me an email.
One reason why my technique is better than the other method of cutting around a paper pattern glued to the wood is that the center hole is made first and used as a reference to locate the edge and teeth. The other method does not use the drilled hole as a reference, and you just have to hope that it is concentric with the rest of the gear.
The table saw is the most versatile machine for making gears with - it can cut spur or helical gears of any thickness, gear racks, and any other gear shape that is convex. It is very precise because of the stiffness of the blade.
The scroll saw can also be used to cut gears with this method if you have spiral blades. Spur and helical gears can be cut with the scroll saw, but because the blade is not as substantial or rigid like a table saw or router the tooth profile may be less precise. The thickness of the gears is limited by the upper blade holder. Finer pitch gears can be made with a scroll saw because they can be made with thinner blades.
The router matches the precision of a table saw for cutting spur gears. Gear thickness is limited by the cutting length of the router bit being used. Spur gears only if you use a router.
Gear racks can be made using a table saw, miter saw, or radial arm saw. The tooth profile on a rack is a line segment instead of being curved.
If you already own a copy of the gear making technique and need to get to the support page, then click here.
The Gear making technique is available as an instant download printable ebook PDF file by clicking the button below. By clicking this button, you will be taken to Paypal to confirm. You will then be sent instructions to download the files. If you do not have a Paypal account you can still use a credit card for the purchase through Paypal. If you do not have or want to use a credit card I will also accept money orders - email me for mailing address. The price for the technique is $19.99. A discount is available when you subscribe to my email list.
How Does It Work?
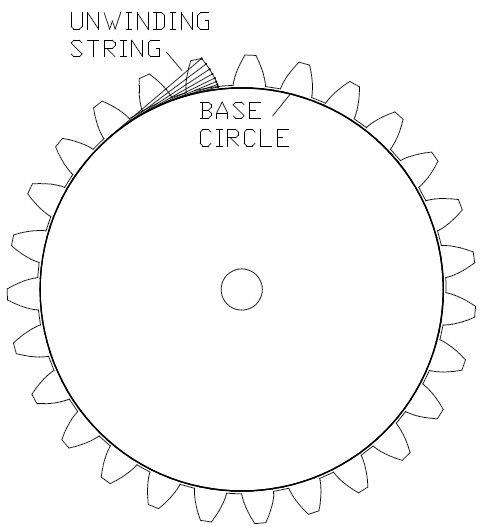
The technique utilizes a simple principle of a point along an unwinding string illustrated below to generate gear teeth instead of sawing or sanding to a line on a paper pattern using the old method. This makes the task of cutting gears much easier, less tiring, and more accurate than other methods, it also lets you make helical gears which are not possible with the old method. You can make gears with any number of teeth . Chances are that you already have all the tools you will need: drill press, bench-top disc sander, and either a table saw, scroll saw with spiral blade (spiral blades are not available for saws requiring pin-end blades), or router (spur gears only with router). You can use ordinary table saw blades or straight router bits. The simplicity of the technique is what makes it work so good. The only sanding you will need to do is to lightly de-burr the edges after the teeth are cut or shaved to perfection. You will get a perfect profile even if your vision is not very good because the cut does not rely on cutting to a line visually, the profile is generated as shown in the drawing below by rolling the blank without slipping along an abrasive-lined fence. Small gears are not a problem to cut safely because they are not held by your fingers while being cut. Very little of the blade is exposed and I believe this technique is safer than making a rip cut on a table saw.
The Gear Dimension Calculator can be used to design gears or reverse-engineer gears from plans from other sources. This can be done by first entering the number of teeth from the plans, then you adjust the diametral pitch until the pitch diameter matches the specifications. The shape of the teeth can also be altered by adjusting the pressure angle - lower pressure angle teeth are more squared-off looking while gear teeth with a higher pressure angle are more triangular shaped. Be aware that meshing gears should be of the same pressure angle.
This technique is very intuitive once you see how it works. There is no need for expensive cnc routers or lasers or any computer-controlled tools. If you have a router, scroll saw or table saw, and the ability to cut accurately sized circles from plywood, and a computer - then you can cut gears. You won't find this technique anywhere else, I have looked thoroughly and know it is my own original idea.
